A memorable unboxing turns customers into fans and fans into free marketing. Here is a step-by-step plan to design one on any budget.
Unboxing videos attract millions of views because opening a package is a small moment of anticipation and delight. You can design that moment deliberately – and it does not require a luxury budget.
Step 1: Start with the outer box
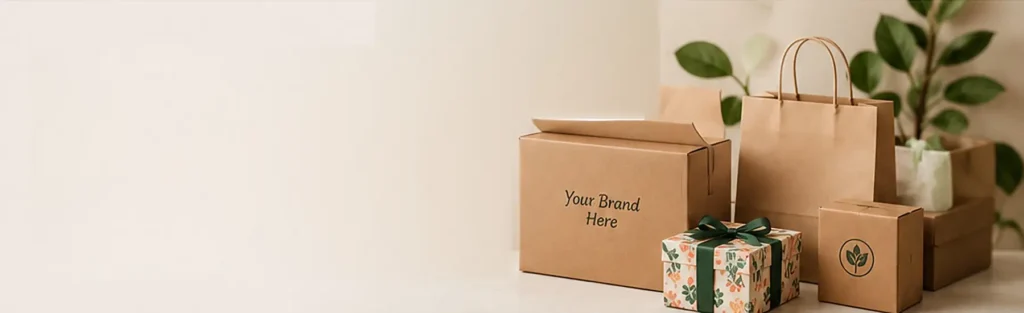
The experience begins at the doorstep. A printed mailer box with your logo on the lid tells customers something special has arrived. If budget is tight, a kraft box with a one-colour logo and a branded sticker seal works well.
Step 2: Create a reveal
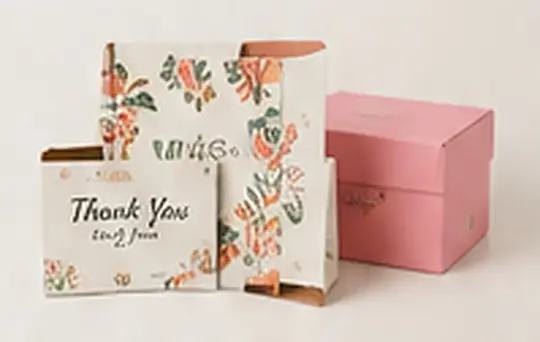
Layering builds anticipation. Wrap products in tissue paper, add a printed insert card on top, or use a printed box interior so the lid opens onto colour and a message.
Step 3: Present products neatly
Nothing spoils the moment like products rattling loose. Use inserts or crinkle paper to hold items in place and arrange them so the hero product is seen first.
Step 4: Add a personal touch
- A handwritten-style thank-you card.
- A small free sample or sticker.
- A QR code to a welcome video, care guide or discount for the next order.
Step 5: Make it shareable
Include your social handle and a hashtag on the insert card and invite customers to share their unboxing. Bright interiors and patterned tissue look great on camera – one of the top packaging trends for 2026.
Step 6: Keep it sustainable
A great experience should not create guilt. Choose recyclable tissue, paper tape and paper fillers, and tell customers how to recycle everything. See why eco-friendly packaging is the future.
Budget tip: a printed insert card and a sticker seal cost very little but deliver most of the “wow” of a fully printed box.
Want to design your own unboxing experience? Browse custom printed boxes or talk to our design team.