Print-ready files are the key to fast, accurate packaging production. Follow this checklist for dielines, bleed, colour modes, fonts and proofs.
Most packaging delays come from artwork that is not ready to print. Following a few simple rules saves time, avoids costly reprints and ensures your boxes look exactly as you imagined.
1. Start with the correct dieline
A dieline is the flat template of your box showing cut lines, folds and glue areas. Always design on the dieline supplied for your exact box style and size – see choosing the right box style.
2. Add bleed and safe zones
Extend background colours and images 3 mm beyond cut lines (bleed) so no white edges appear after cutting. Keep text and logos at least 3–5 mm inside the cut and fold lines.
3. Use the right colour mode
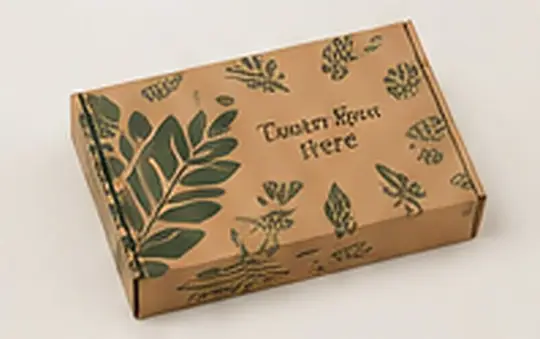
Set files to CMYK for full-colour printing. For exact brand colours, specify Pantone (PMS) spot colours. Remember that colours print differently on kraft board than on white board.
4. Use high-resolution images
Images should be at least 300 dpi at final size. Logos and text should be vector artwork wherever possible.
5. Outline fonts and embed links
Convert fonts to outlines (or embed them) and package all linked images so the printer sees exactly what you see.
6. Separate special finishes
Foil, spot UV and embossing each need their own layer or file, set as a 100% spot colour.
7. Check, proof and approve
- Check spelling, barcodes and legal text.
- Review a digital proof on the dieline.
- For large runs, request a physical sample before mass production.
Export as a print-quality PDF (PDF/X-1a or PDF/X-4) unless your printer asks for something else.
Need help with your files? Our team can check artwork and prepare dielines for you – get in touch. For design inspiration, read how custom packaging boosts your brand.